I'm building Deb a rack for our South facing deck to hold herbs, cactus and succulents. Had to do this because you can't grow anything in the ground around here - because of the critters! Deer seem to eat everything up to 6' - as far as they can reach - and aren't particular about their diets. There may be a few things the deer won't eat, but no one seems to know what they are.

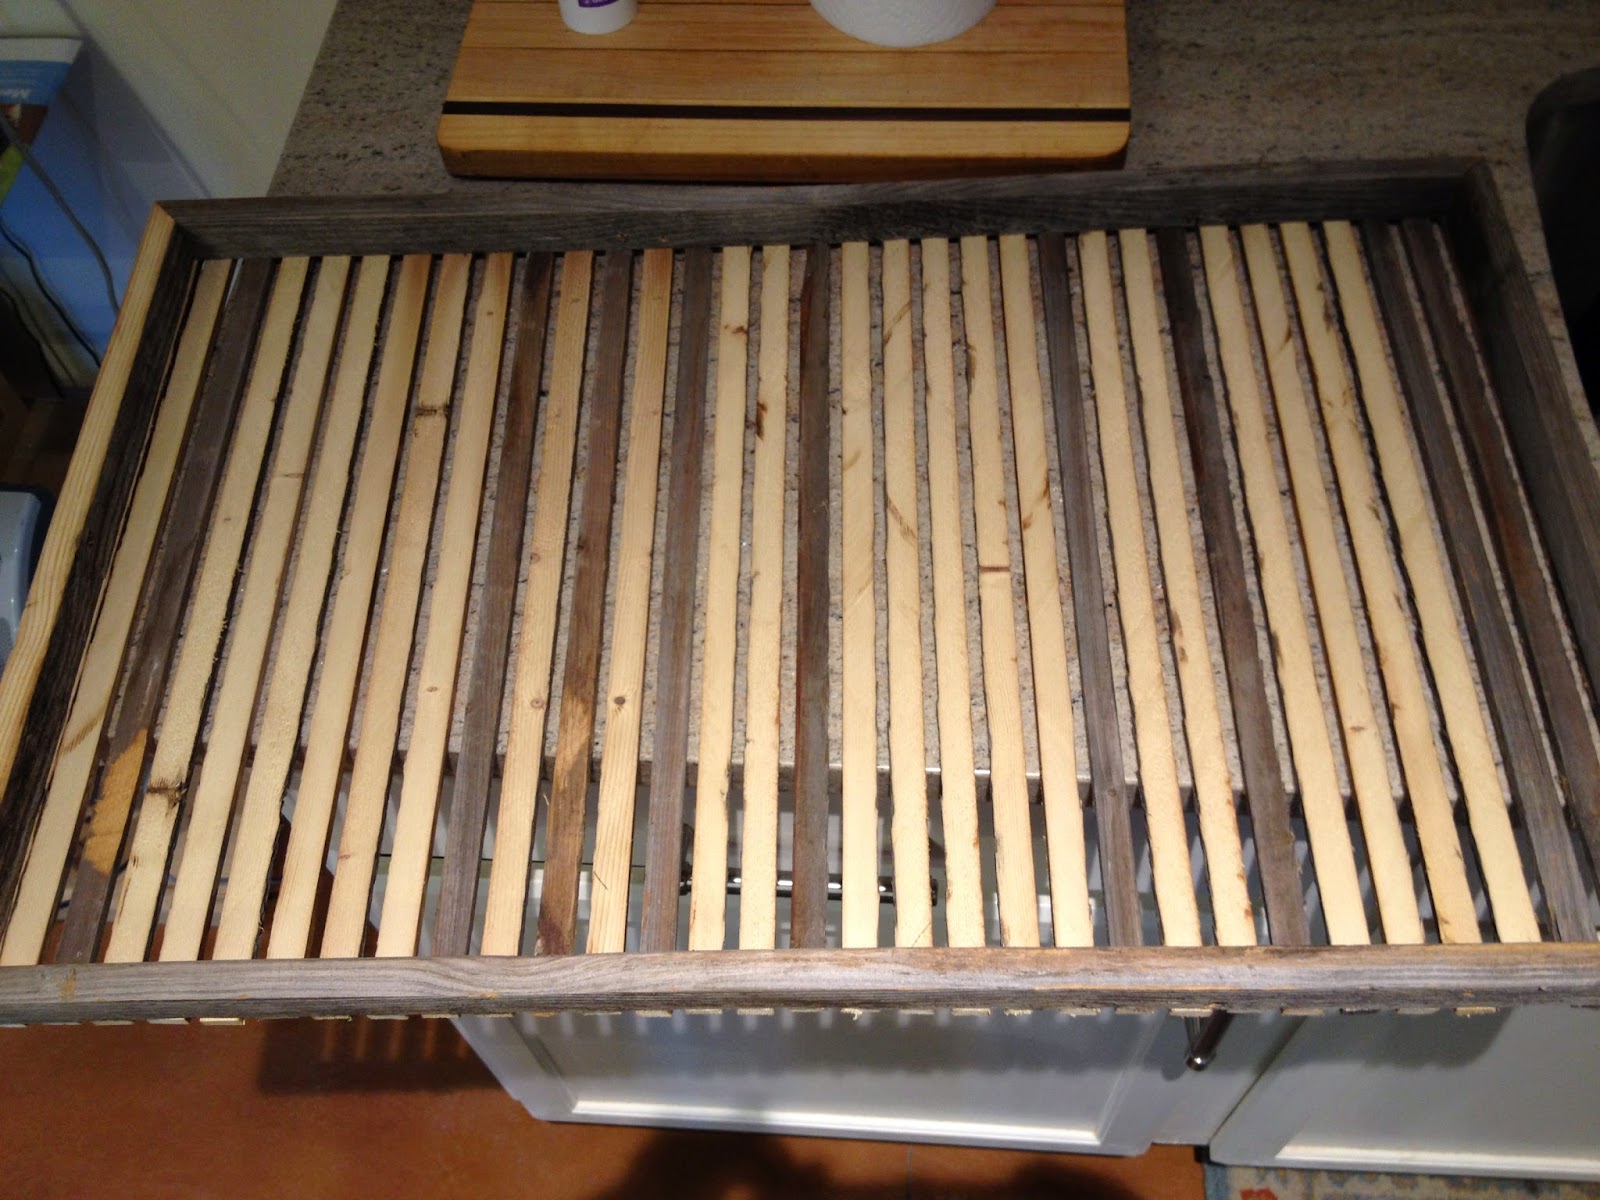

Here's a pic of the final results. The naturally weathered strips that showed up so well in the first pic are no longer readily visible. I succeeded in duplicating the look of the naturally weather strips!
The method is this:
- In a container (plastic is preferable), place a steel wool pad that has been pulled apart.
- Add vinegar (I used distilled white vinegar) to the container with the steel wool. The amount doesn't seem to be important. I put in about 2 cups.
- Let the mix sit for 24 hours or so. I haven't experimented yet about whether or not more stew time will darken the final product. I suspect it will, but only up to the point where the steel wool is completely dissolved.
- Apply the mixture to the "new wood" with a brush. Nothing will happen immediately.
- Allow the application to dry. As the mixture dries, it reacts with tannins in the wood creating a chemical patina.
- I didn't need a second application, so I don't know whether or not a second coat will darken the patina. I may try that and report about it later. Isn't chemistry wonderful!!
There are a few cautions that you MUST pay attention to if you are going to try this method:
- Always wear gloves and eye protection!! Vinegar is acidic and can harm your hands and eyes.
- Use a container with a lid, but DO NOT secure the lid!! The mixture generates gases as the steel wool dissolves and a closed, secure lid could be blown off the container, splattering nasty stuff all over everywhere. You DO NOT want this to happen!
If you try something like this, drop me a line and tell me what you did and how it worked. As far as I can tell, there are many different chemicals that can be added to the brew to generate patina washes from red to brown to gray.
Cheers!
No comments:
Post a Comment